Build Your Own Visual Claude Code Status Light: A Step-by-Step Guide
Ever found yourself glued to your monitor waiting for Claude Code to finish processing? Instead of staring at a progress bar, you can create a simple LED light that changes color based on Claude's activity — allowing you to grab coffee, check emails, or stretch while still knowing when it's done. This guide covers everything from the concept to the code.
What is Claude Code and why would I need a status indicator?
Claude Code is an AI coding assistant that can generate large amounts of code in seconds. However, complex tasks sometimes require longer processing — what developers affectionately call "letting Claude cook." Without a visual cue, you might find yourself repeatedly glancing at the terminal, disrupting your workflow. A dedicated LED indicator solves this by providing an at-a-glance status: green when idle, blinking when processing, and red when an error occurs. This not only saves time but also reduces mental overhead. Think of it as a visual notification system that frees you from the screen, letting you focus on other work while staying connected to Claude's progress.
How does the LED light system work to show Claude Code's status?
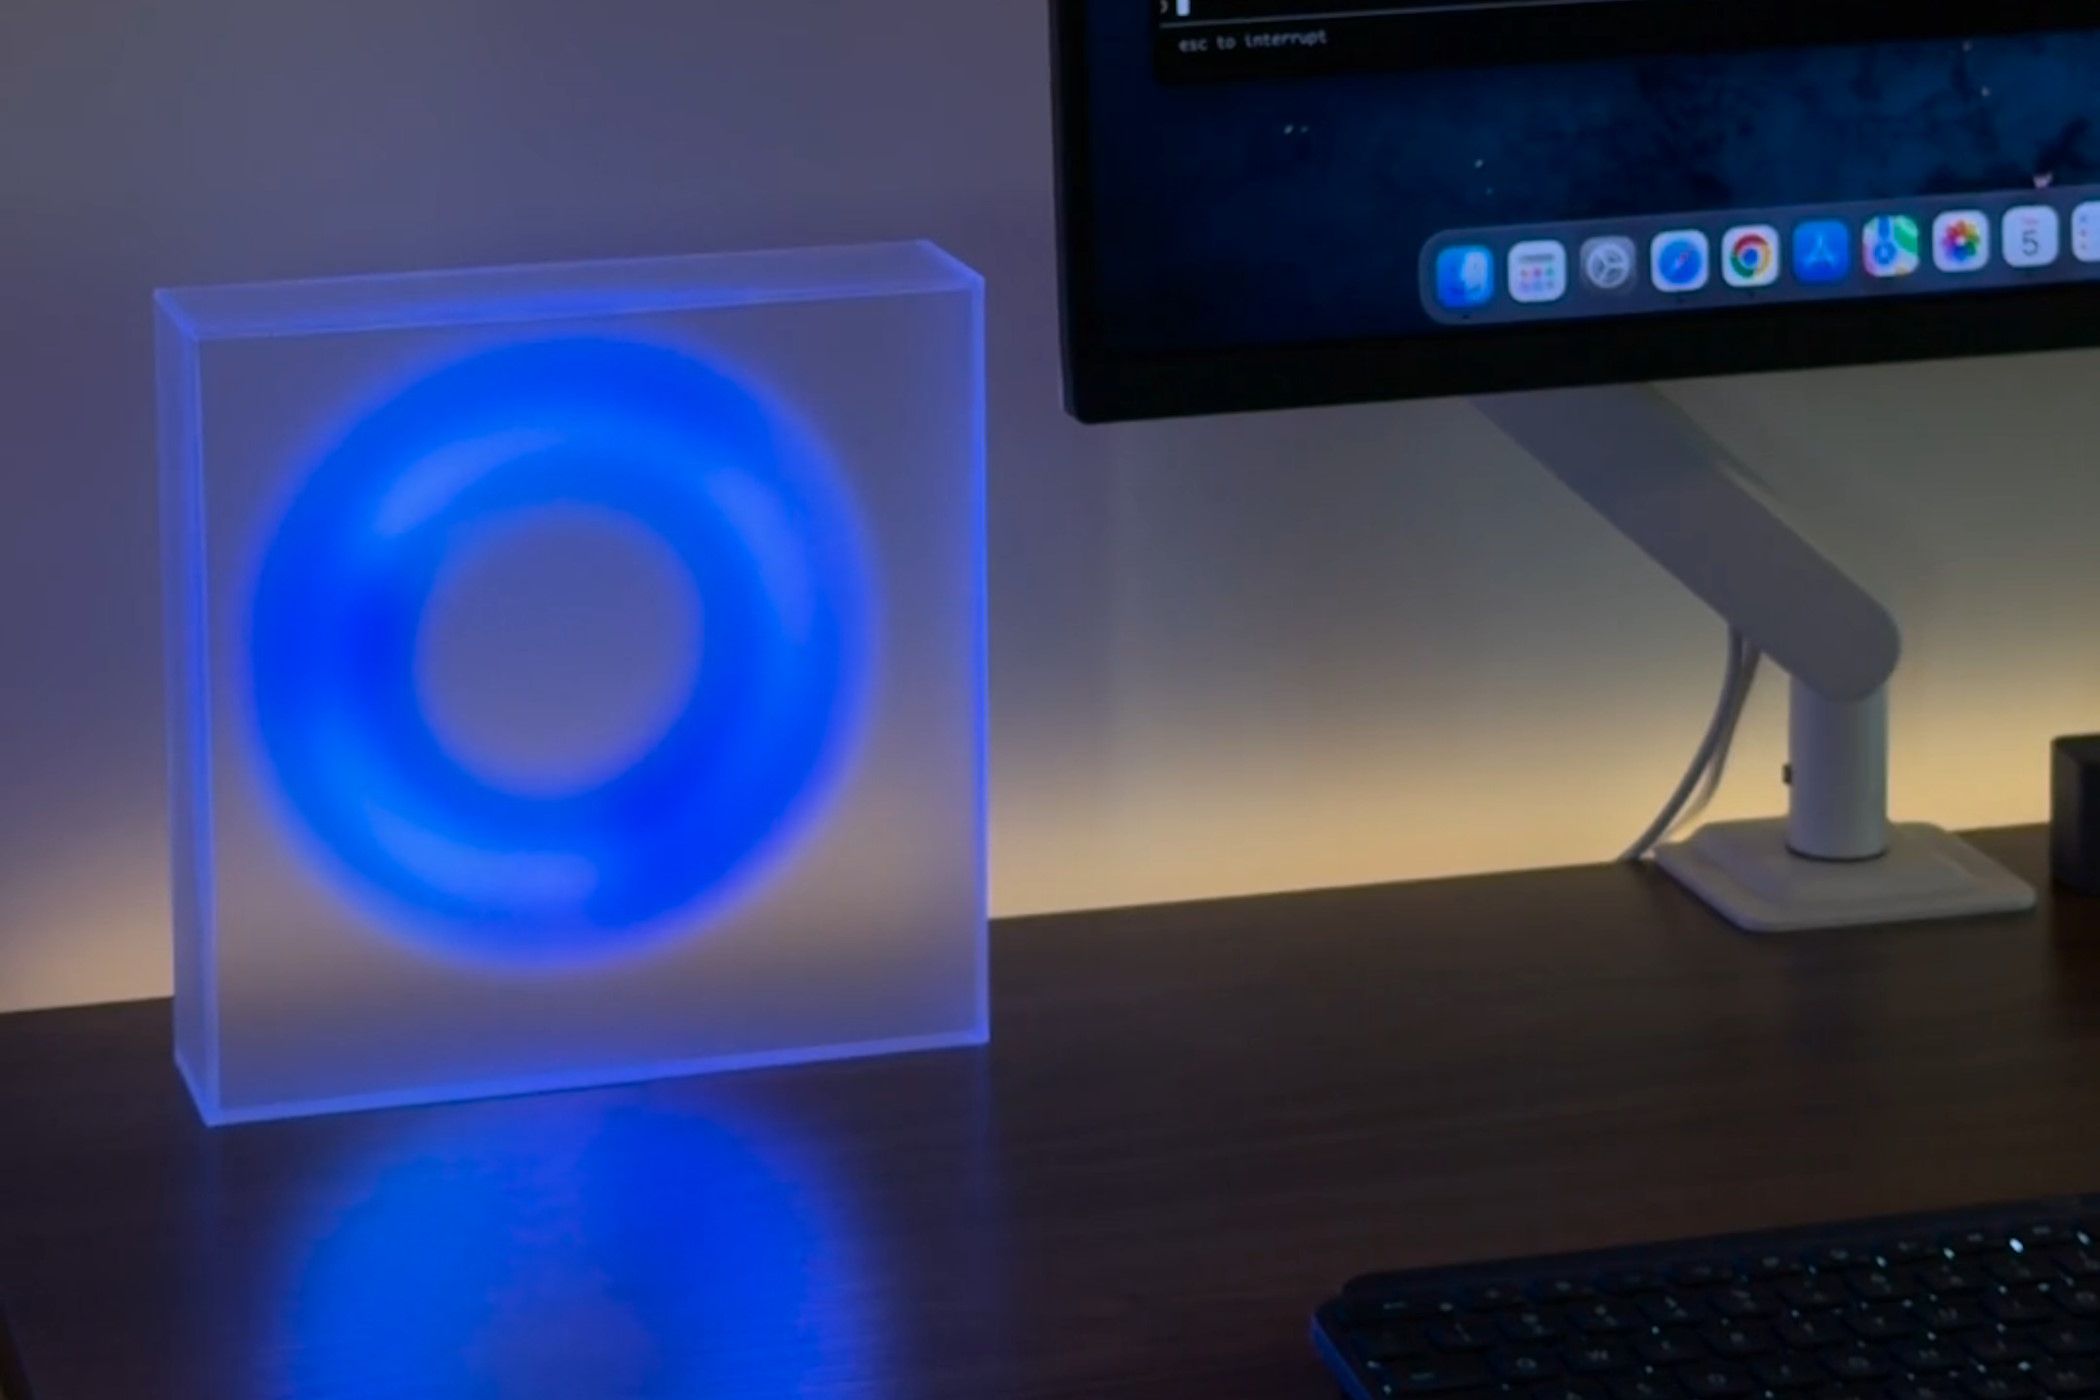
The core idea is simple: a micro-controller (like an ESP32) listens to your computer for signals from Claude Code. When Claude starts a task, the computer sends a serial command that turns the LED green. While processing, the LED blinks. When finished or if an error occurs, the light changes to solid green or red respectively. This is achieved through a lightweight Python script that monitors Claude's output via the claude-code CLI, then sends signals over USB or Wi-Fi to the LED controller. The result is a real-time physical representation of Claude's state — no more guessing, no more interruptions.
What hardware and software do you need to build your own indicator?
You'll need a few cheap components: a microcontroller (ESP32 or Arduino Nano), a programmable RGB LED (NeoPixel type), a breadboard and jumper wires, a USB cable, and a 5V power source. Software requirements include the Arduino IDE or PlatformIO for flashing code, plus Python 3 on your computer. The hardware part takes about 30 minutes: connect the LED's data pin to a GPIO on the board, power and ground accordingly. Then upload the provided Arduino sketch that listens for serial commands. For the software side, install the pyserial library and run a script that monitors Claude Code's output. Total cost is under $20.
Step-by-step: How to set up the LED to respond to Claude Code activities?
First, assemble the circuit: connect the LED's VCC to 5V, GND to ground, and data pin to GPIO 2 on the ESP32. Upload the Arduino code (available in our GitHub repo) that initializes the LED and listens for characters: 'G' for green (idle), 'B' for blinking (processing), 'R' for red (error). Then, on your computer, run a Python script that launches Claude Code in a subprocess. Use regular expressions to parse status messages — for example, 'Thinking...' triggers a blink, 'Done' triggers solid green, 'Error' triggers red. The script sends the corresponding character over the selected COM port. Test it by running a simple Claude command; the LED should mirror the state instantly.
Can I customize the colors and patterns for different statuses?
Absolutely. The system is fully customizable. In the Arduino code, you can change the RGB values for each state: for instance, use blue for "waiting for input" or purple for "generating code." You can also adjust blink speed, breathing patterns, or even add a second LED for more states. On the Python side, you can map any Claude Code message — like "loading model" or "outputting result" — to a specific light sequence. For advanced users, consider using Wi-Fi instead of serial: have the ESP32 serve a simple web endpoint, and let the Python script send HTTP requests. This allows multiple LEDs or remote monitoring. The possibilities are limited only by your imagination.
What are the practical benefits of using a physical status light?
Beyond the obvious "look at the light instead of the screen," a physical indicator reduces context switching. Developers report feeling less anxious about long-running tasks because they can glance at the LED from across the room. It also improves collaboration: in a shared workspace, teammates can see when a build is running. Additionally, it's a great learning project — you'll gain experience with microcontrollers, serial communication, and CLI monitoring. Finally, it's highly satisfying to build a tool that literally lights up when your code assistant is at work. It turns waiting into a visual experience, making the development loop both more efficient and more fun.
Related Articles
- Apple Shifts Strategy: Users Can Now Create Their Own Wallet Passes as Business Adoption Stalls
- Python 3.15 Alpha 4: Unveiling New Features and Improvements
- Unlocking AI-Assisted Python Development: A Guide to OpenCode
- JavaScript Date Handling Crisis: Temporal Proposal Emerges as Solution
- 7 Breakthrough Facts About NVIDIA’s Nemotron 3 Nano Omni Model
- Implementing Secure MCP Tool Governance in .NET Applications
- Inside Python’s Security Response Team: Governance, Growth, and How to Join
- Cloudflare and Stripe Enable Full Autonomy for AI Agents in Cloud Deployments